Table of contents
- Task 1: Create a Docker image and store the Dockerfile
- Task 2: Test the created Docker image
- Task 3: Push the Docker image in the Container Repository
- Task 4: Create and expose a deployment in Kubernetes
- Task 5: Update the deployment with a new version of valkyrie-app
- Task 6: Create a pipeline in Jenkins to deploy your app
- Congratulations
Deploy to Kubernetes in Google Cloud: Challenge Lab Skill Lab
Task 1: Create a Docker image and store the Dockerfile
- Run in the cloud shell
source <(gsutil cat gs://cloud-training/gsp318/marking/setup_marking_v2.sh)
- Then click authorise if asked
- Run in shell to clone the repo
gcloud source repos clone valkyrie-app cd valkyrie-app- create the docker file using this command
cat > Dockerfile <<EOF
FROM golang:1.10
WORKDIR /go/src/app
COPY source .
RUN go install -v
ENTRYPOINT ["app","-single=true","-port=8080"]
EOF
- Make sure to replace Your Docker Image and Your Tag Name as assigned to you don't copy mine will not work
It is mentioned somewhat here

docker build -t <Your Docker Image>:<Your Tag Name> .
- finally run this command
~/marking/step1_v2.sh
Task 2: Test the created Docker image

Dont forget to replace it your docker image and tag name
docker run -p 8080:8080 <Your Docker Image>:<Your Tag Name> &and then
~/marking/step2_v2.sh
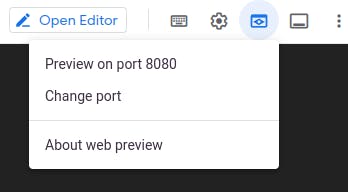
- Now test it in web preview on port 8080
Task 3: Push the Docker image in the Container Repository

Make sure to replace and do the necessary changes as mentioned in your task
docker tag <Your Docker Image>:<Your Tag Name> <Container Re tag>
docker push <Container Re tag>
Task 4: Create and expose a deployment in Kubernetes
gcloud container clusters get-credentials valkyrie-dev --region us-east1-dMake sure to replace Your Docker Image and Your Tag Name
sed -i s#IMAGE_HERE#gcr.io/$GOOGLE_CLOUD_PROJECT/<Your Docker Image>:<Your Tag Name>#g k8s/deployment.yamlnext simply run in shell
cd k8s
kubectl create -f deployment.yaml
kubectl create -f service.yaml
Task 5: Update the deployment with a new version of valkyrie-app

Change the Replica Count as it is mentioned to you
kubectl scale -f deployment.yaml --replicas=<Your Replica Count>
git merge origin/kurt-dev
cd ..
 Replace the Docker Image and the Updated Version
docker build -t gcr.io/$GOOGLE_CLOUD_PROJECT/<Docker Image>:<Updated Version> .
docker push gcr.io/$GOOGLE_CLOUD_PROJECT/<Docker Image>:<Updated Version>
Task 6: Create a pipeline in Jenkins to deploy your app
- This command will give your container id which we will use in next step.
docker ps
docker kill <container id received from above command>
export POD_NAME=$(kubectl get pods --namespace default -l "app.kubernetes.io/component=jenkins-master" -l "app.kubernetes.io/instance=cd" -o jsonpath="{.items[0].metadata.name}")
kubectl port-forward $POD_NAME 8080:8080 >> /dev/null &
This command will give you the Jenkins password which we will need later.
printf $(kubectl get secret cd-jenkins -o jsonpath="{.data.jenkins-admin-password}" | base64 --decode);echo
- Open Jenkins on Web View Preview on port 8080
Username : admin
Password : The output received from the previous command
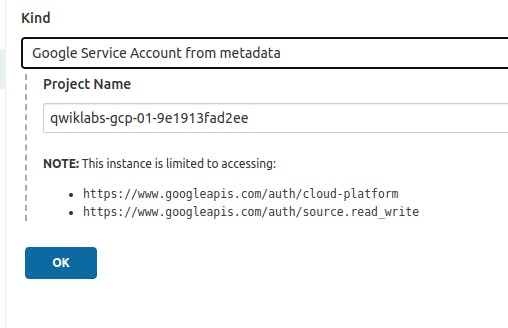
- After Opening Dashboard click on -> Manage Jenkins -> Manage Credentials -> Jenkins -> Global credentials (unrestricted) -> Add credentials -> Kind: Google Service Account from metadata -> OK
- Again Come the Dashboard then click on -> New Item -> Name : valkyrie-app -> Pipeline -> Pipeline script from SCM -> Set SCM to git -> OK
- Pipeline -> Script: Pipeline script from SCM -> SCM: Git
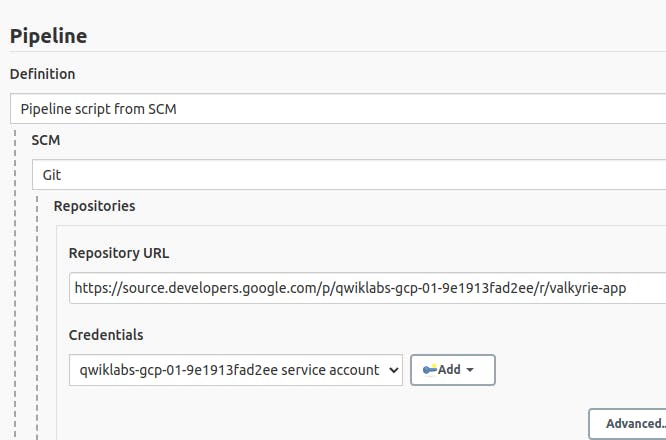
- Type this to get the repo link
gcloud source repos list
- Add repo link and credentials will be your project id
Click Save
Type this in cloud shell , Replace Email with your student email and username with student username
sed -i "s/green/orange/g" source/html.go
sed -i "s/YOUR_PROJECT/$GOOGLE_CLOUD_PROJECT/g" Jenkinsfile
git config --global user.email "student..@qwiklabs.com"         //Make sure to replace
git config --global user.name "student.1254"                       //Make sure to replace
git add .
git commit -m "built pipeline init"
git push
- Wait 8-10 min till the build complete
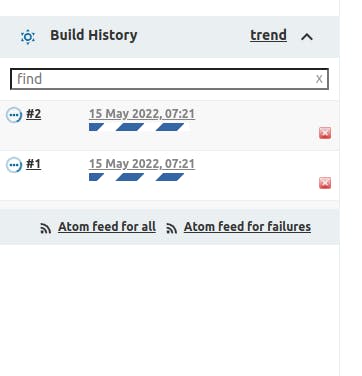
It will sure like this after completing
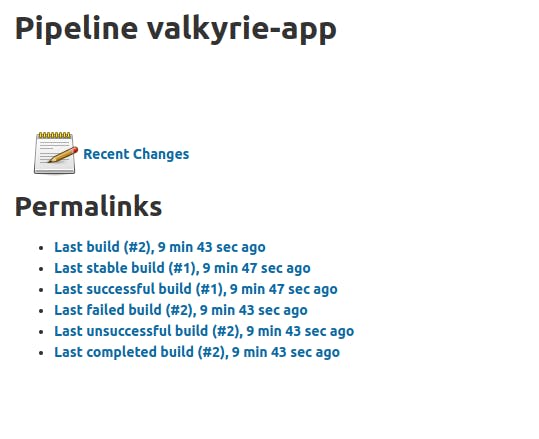
Congratulations
You earned a new skill badge
